Easy sushi
Most of the time, I like cooking for friends. Somehow or the other, I've turned out just like my mother and my grandmothers, and I tend to turn down all offers to help in the kitchen. I like my guests to be chilled out and well-fed, so sue me. But some of my favourite memories are cooking with friends. I'll tell you about the sugar cookies at Christmas but for now, how about some sushi?
I have little groups of friends from almost every stage of my life. I like to keep them separate because they're all very different people...and because it gives me an excuse to extend birthday celebrations for a couple of weeks each year. I think I've mentioned before how challenging I found sixth form, after sort of floating through the rest of school. But the friends I made there were worth it. Iossie and Nelka are two of those friends and we have been OMG- and LOLing together ever since. Their infectious cackles of laughter would put a witch to shame. When we're not being ridiculous, we support, empower and believe in each other. I remember, after our first year of university, all our terrified conversations about jobs and the future and being utterly unprepared and unemployable. And yet, we've done okay :) I wouldn't be where I am without them.

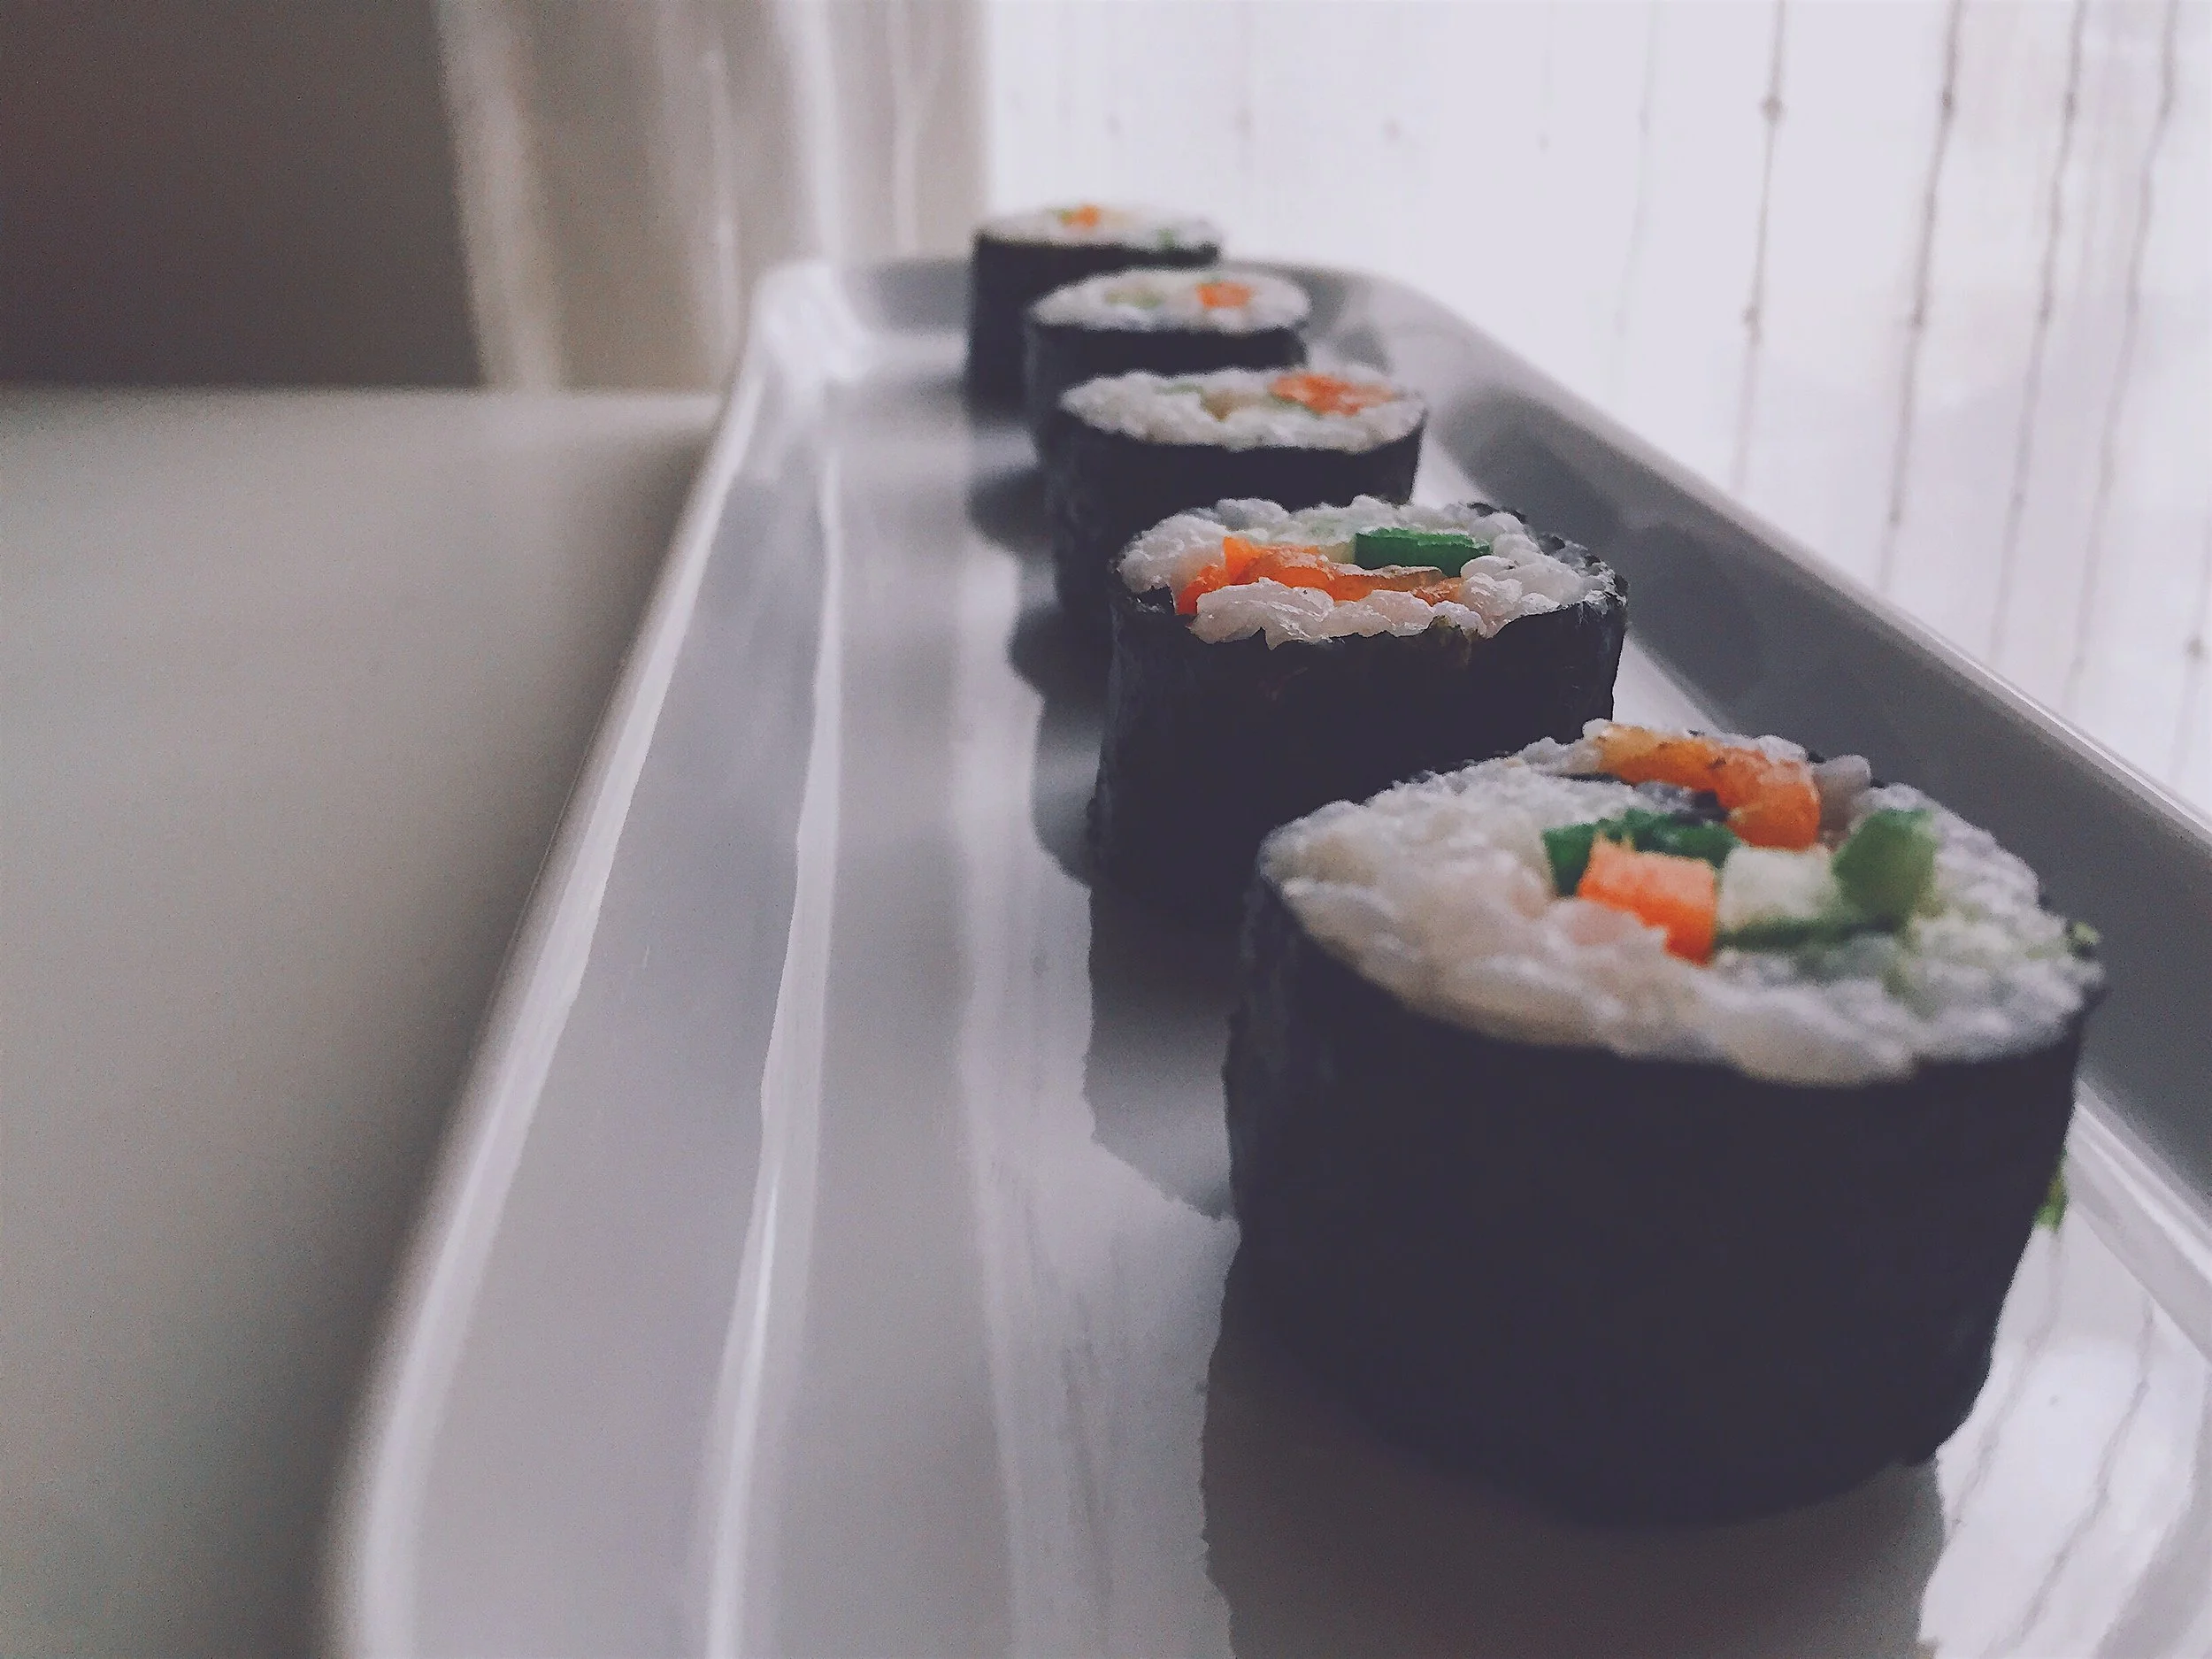
Learn from my mistakes: don't leave empty spaces without rice at the sides, only on the top and bottom.
Iossie, originally from Hong Kong, taught me how to make sushi. The two of them came over to my apartment one weekend and we made more sushi than we could actually eat. It was so much fun! If you like doing things with your friends or family, what I'm calling assembly-line cooking, try this easy recipe for sushi.
Sushi rice is cooked, seasoned with rice vinegar, sugar and salt and then cooled. A sheet of nori seaweed is laid out, shiny side down, over a makisu or bamboo rolling mat (pro-tip: Iossie recommends covering this in a couple of layers of clingfilm for easier reuse) and then covered in a thin layer of rice as well as your choice of fillings. The sushi is then rolled carefully using the mat and then cut into pieces. Serve with soy sauce, wasabi and pickled ginger.
The fillings are where you can use your imagination. Don't put too many in because it'll be hard to roll your sushi, but the combinations are limitless. Iossie and Nelka put crab sticks in their sushi rolls but we put smoked salmon in others thanks to my shellfish allergy. This was such a revelation for me. I don't love the texture of raw fish and I've actually always found smoked salmon a little too fishy. But in sushi, while not authentic, it's delicious. You could use strips of an omelette, tuna or sausage, or you could just leave it out for vegetarian sushi. Cucumber is a given but I also love the yielding softness of avocado in here and the snap of fresh carrot, bell peppers and/or spring onions is equally lovely. For some of the rolls, I like to very lightly dab a little wasabi as a placeholder for the fillings - wasabi is amazing but has a serious kick so go easy. A roll of two of this sushi make a really light but tasty lunch and it's really not as laborious as my detailed instructions might seem. It's also immensely satisfying when it all comes together. You might even say it's oishii ;)

Make your life easier and use a sharper knife than mine please.
Easy sushi
Makes 3-4 rolls.
INGREDIENTS
- 1 cup uncooked sushi rice
- 2 tablespoons rice vinegar
- 1 tablespoons sugar
- 3/4-1 teaspoon salt
- 4 sheets toasted and seasoned nori seaweed
- Your choice of fillings
METHOD
Sushi rice needs to be rinsed really well before cooking. Put the uncooked rice in a bowl and add enough water to cover the rice. Using your hand, flat-open and palm down, swirl the rice in the water in a clockwise motion. The water will become cloudy almost immediately. Continue swirling for a good 30 seconds and then carefully drain the water. Repeat the process with more water 2-3 more times.
Sushi rice in the Instant Pot:
I tend to use my Instant Pot (I'm lazy and it's amazing). For this, add a brimming cup of water to the rinsed wet rice in the pot. Close the lid and ensure the nozzle is set to sealing. Press the manual button and then reduce the cooking time to 4 minutes. When the time is up, use the Natural Release Method by leaving the rice on the Keep Warm Setting for 10 minutes, before pressing Cancel and setting the nozzle to release. Unlock the lid et voilà, perfect sushi rice.
Sushi rice on the stovetop/hob:
Let the rice drain in a strainer for 15-20 minutes. Add the rice to a pan with 1 cup water and quickly bring to a boil. When boiling, reduce to a simmer, cover the pan with a lid and cook for 15 minutes. Remove from the heat but leave the lid on and allow the rice to rest for 10 minutes before taking off the lid.
Immediately after the rice is ready, gently transfer the rice to a wide glass or wooden dish to stop it cooking further.
In a small bowl, combine the sugar, salt and rice vinegar*, stirring until the sugar dissolves. Add this to the hot rice, being careful not to break the rice. Taste for seasoning. Set aside and allow to cool to body temperature (neither hot nor cold to the touch).
While the rice cools, prepare your fillings. Thinly slice your vegetables/crab sticks/smoked salmon/omelette/sausage into roughly equal strips to make it easier to roll.
Take out your bamboo rolling mat and, optionally, cover both sides with a couple of layers of clingfilm. Place a sheet of nori seaweed on the mat, with the shiny side down. The rougher side will adhere better to the rice.
Spread out 1/4-1/3 of the rice over the nori, leaving a couple of centimetres at the top and bottom - I leave about an inch at the top. To make it easier to spread the rice without mushing it, use your hands. Keep a bowl of water by the side and periodically dip your fingers in the water to prevent the rice from sticking to them.
Place your fillings midway over the rice, a little closer to the bottom (the edge closest to you) than the top. Using the bamboo mat, carefully roll the sushi. Obviously you don't want to roll the bamboo mat into the sushi, it's more to help you roll it into an even round. So what you need to do is use the bamboo mat to help you lift the bottom edge of the sushi over and under your fillings and then tuck it in, pressing firmly to make sure everything inside the roll sticks together evenly.
Next, wet the top edge of the nori before rolling the sushi roll (ha) over it and again pressing firmly into shape. If you're finding it hard to visualise the process, this video might be helpful.
Use a sharp wet knife to cut the sushi into 8 even rounds.
Serve with soy sauce, wasabi and/or pickled ginger. Sriracha is also delicious.
Notes: In this case, it really has to be rice vinegar so please don't try to sub in any others.